Integrations/Xero
Contents
Xero Integration
Emersion integrates seamlessly with the Xero Billing Platform found at www.xero.com.
Emersion and Xero features:
- Linking Emersion Accounts with Xero Contacts
- Synchronising invoices created in Emersion with Xero.
- Breaking down of ledger card lines within Emersion by ledger code
- Receiving payments and credit notes from Xero and reflecting them in Emersion
- Pushing payments received in Emersion to Xero
Configuration of Xero and Emersion
Before you can configure the Xero Emersion integration, you are required to have the feature enabled on your service provider account.
Please contact sales@emersion.com.au if you are interested in this feature.
You will know when the Xero integration is enabled when you have access to Admin > Xero
Watch the training video to:
- Learn how to connect to Xero from Emersion
- Set your default payment method to go to your nominated bank accounts in Xero
- Map Ledger codes against Xero accounts
- Associate Emersion 'accounts' with Xero 'contacts'
The media player is loading...
Synchronisation with Accounts
Customer accounts in Emersion need to be linked to contacts in Xero. You can do this in one of two ways:
Creating a new Customer
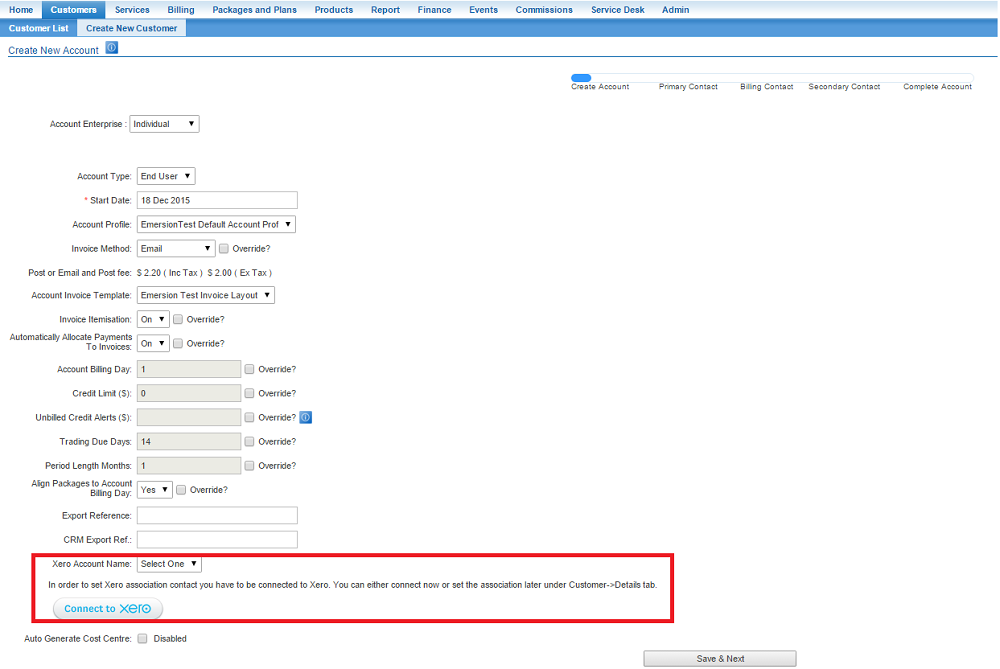
When you create a new customer in Emersion, first screen in the wizard includes a Xero Account Name field. Use the dropdown to select which account to link to this new customer.
Updating Existing Account
To update the existing settings for a customer, or to add settings to a customer created before you set up the Xero integration follow the steps below.
NAV: Customers > Customer List
Find a customer and open their account by clicking on the account ID.
Click the Details tab then click the Xero Integration sub tab.
To change the account accociation for the customer:
- click Edit to enter edit mode on the page.
- Select the Xero account from the list available.
- Save the settings.
