Difference between revisions of "Products/Create Product"
(→Serialised vs Non-Serialised Products) |
|||
| Line 62: | Line 62: | ||
# Change the product information as needed. | # Change the product information as needed. | ||
# Click the '''Save '''button. An information box showing the product has been saved will be shown to the user. | # Click the '''Save '''button. An information box showing the product has been saved will be shown to the user. | ||
| − | |||
| − | |||
| − | |||
| − | |||
| − | |||
| − | |||
| − | |||
= See Also = | = See Also = | ||
Revision as of 17:20, 21 June 2016
Contents
Overview
Products can be:
- physical items, such as modems, handsets, hardware and accessories
- a once off charge incurred for a service, such as an installation fee
- used to apply a one-off discount, such as a "$10 off your next bill"
- used to bill to a customer a fractional-based item, such as 1.75 hours for a site visit by an engineer.
Before setting up any products, consider if any once off fees from your supplier that will need to be passed on to the customer - such as the installation fee mentioned earlier - comes in a data feed or not. For example, AAPT regularly include once-off and recurring charges in the data files processed via Emersion. If the supplier provides these charges in the data feed, service providers has two choices in terms of billing:
- Set these items up as Products so that the customer can be charged in advance at the time of order.
- Set a price in the Product Rate Card so that the customer will be charged in arrears. This will be done automatically by the system when the charge is received in the data feed by the supplier.
Serialised vs Non-Serialised Products
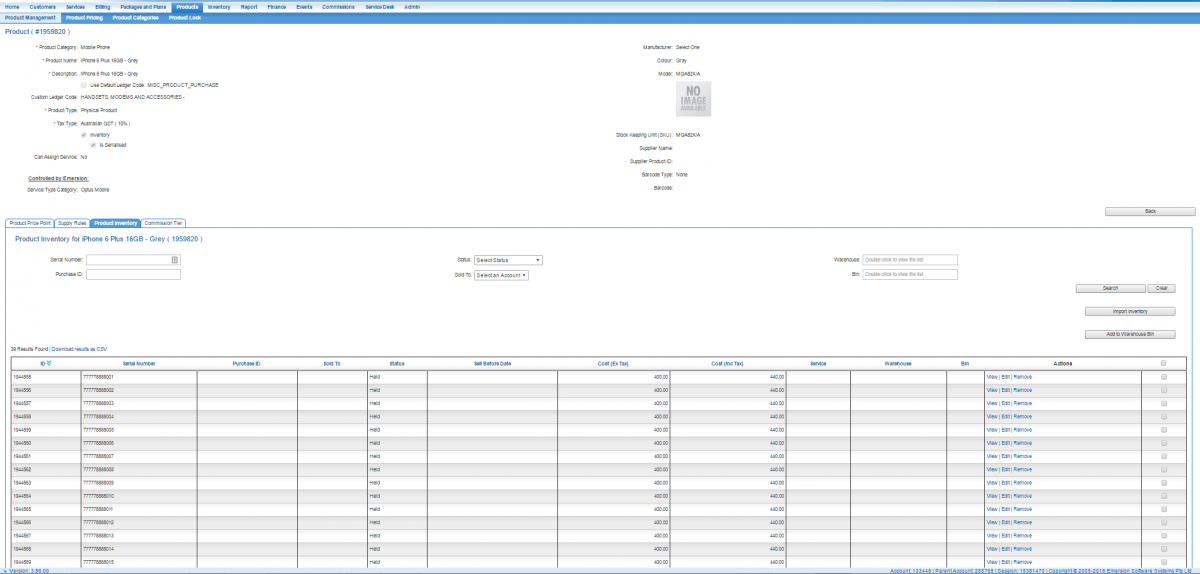
Products can be flagged as serialised in Emersion. Serialised products are designed to work with an inventory, where a product instances can be identified by it's serial number. a Product instance is simply an instance of that product. Imagine 50 Samsung TVs where the model number is the same. The identifying aspect is the serial number. Each of the 50 TVs is a product instance.
The product is made up of the brand, make, model, colour, etc. But each instance of the product has its own serial number, as seen in the inventory tab in the example below.
Non-serialised products have no inventory. For more detailed information or assistance regarding serialised products, start here.
Create a Product
To create a product in Cumulus, follow the steps below.
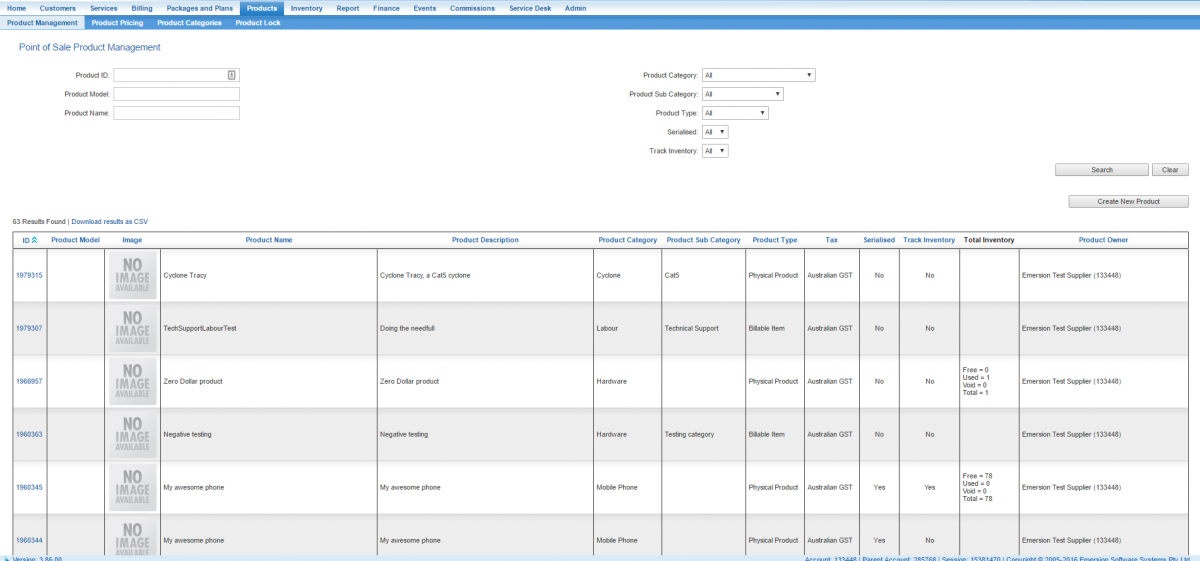
Nav: Product > Product Management
Click the Create New Product button. The New Product screen will be displayed.
- Select a Product Category from the drop down list.
- Select the Product Subcategory from the drop down list.
- Enter the Product Name.
- Enter a Description for the product.
- By default, the Use Default Ledger Code check box will be ticked. This will assign the default product ledger code to this product when it is sold. This ledger code is recorded in the resulting cardline. If you wish to assign a different ledger code, uncheck the box and select the correct Custom default ledger code to use, or enter a new ledger code in the New Ledger Code text box.
- Choose a Product Type from the drop list.
- If this product will be serialised, or if you wish to use the product inventory to track the sale of product instances, tick the Inventory checkbox AND the Is Serialised checkbox.
- If the product being sold allows fractional values (such as hours, square meters or alike) check the Allow Fractional Quantity. Note this is not applicable to serialised products.
- The Notify Upon Paid Purchase flag, if checked, will send an email notification to a nominated recipient when this item is sold under an instalment plan and the final instalment has been paid. This function relies on the Notify Upon Paid Purchase event to be enabled. If a template is set up, but the event is not enabled, no notification will be sent.
- The Can Assign Service option gives service providers a way to relate a product and a service. For example, a 4G service and a SIM. Or a DSL service and a modem. Service providers can make these relationships mandatory or optional.
- Enter the manufacturer of the product.
- Choose a colour of the product, if applicable.
- Enter the model of the product.
- If you would like to include a product image, press the Choose File button, find your image and upload it here. Product Images will display as thumbnails in the Products list under Product Management and also in the Order process where the product is mapped to a Package Plan.
- Enter a Stock Keeping Unit (SKU) code if the product has one.
- Enter a Supplier Name, if applicable.
- Enter a Supplier Product ID, if applicable.
- Choose a barcode type from the list of options, if applicable.
- Enter the number of the barcode, if applicable.
When you are happy with the product information, press Create Product. To cancel without saving, click the Back button.
Editing a Product
- From the main Product List page, click the Product ID of the product you want to change. The main page of the product will be displayed in read mode.
- Click the Edit button to put the product into Edit mode.
- Change the product information as needed.
- Click the Save button. An information box showing the product has been saved will be shown to the user.


